 How-to
How to Fix a Small Roof Leak Before It Spreads
Last Updated: November 19, 2026
Quick Summary
To fix a small roof leak, first trace the water back to its entry point by checking uphill from the ceiling stain, then tarp the area or apply a matching sealant once the roof is dry. Temporary repairs like tarps and roof cement buy time, but sealant is a patch, not a repair.
- Work backward from the ceiling stain and check uphill first, since water can travel several feet sideways.
- Size a tarp to overhang the leak by at least 4 feet on every side and run it from ridge past the eave.
- Never seal over wet shingles, because roof cement and caulk will not bond and the patch will peel.
- Minor fixes like a pipe boot or a few shingles run $150 to $400, while valley repairs climb to $500 to $1,500.
- Call a pro if you see sagging, multiple stains, or granule loss, since small leaks rot decking and grow mold.
Table of Contents
- How to Find a Roof Leak Before You Patch Anything
- Temporary Roof Leak Repair While You Wait for a Fix
- Choosing the Right Roof Leak Repair Sealant
- Small Roof Leak Repair Cost and When to Call a Pro
- Schedule a Roof Inspection Before the Next Storm
- Frequently Asked Questions
How to Find a Roof Leak Before You Patch Anything
Most homeowners learn how to fix a small roof leak the hard way: they patch the wet spot on the ceiling, then watch it come back. According to The Roofing Brief's 2026 repair cost data, general roof leak repairs run $350 to $1,500 for most homeowners, and the price climbs fast when the real entry point stays hidden.
A roof leak is any point where water passes through the roofing system into the decking or attic, and it is rarely located directly above the stain.
Trace Water Back to Its Entry Point
Water follows gravity and framing, so it can travel several feet sideways before it drips. Work backward from the stain:
- Check uphill from the stain first, not straight above it
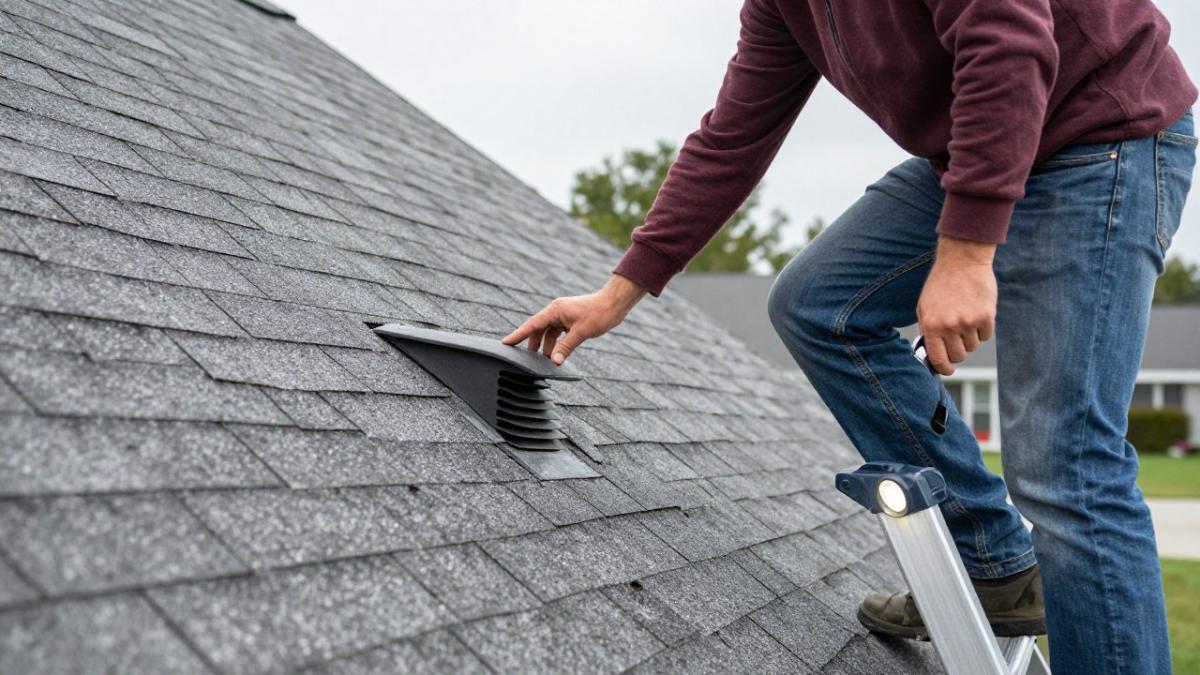
- Look at roof valleys, vent boots, and chimneys, the usual suspects
- Inspect the attic in daylight; light coming through the deck tells you plenty
Temporary Roof Leak Repair While You Wait for a Fix
Temporary roof leak repair buys you time, nothing more.
During an active storm, stay off the roof. Team All Star Construction's storm guidance advises indoor water containment over climbing up in bad weather. Lightning, wet shingles, and gusting wind are the three conditions that send homeowners to the emergency room, and no tarp is worth that trade.
Contain the Water Indoors First
Before anyone goes outside, stop the interior damage:
- Place a bucket or large bin under the drip and move furniture, rugs, and electronics out of the path
- If water is pooling in a ceiling bulge, pierce a small hole at the low point with a nail or screwdriver and let it drain into the bucket, a controlled pinhole beats a collapsed drywall section
- Pull wet insulation away from the leak area if you can reach it safely; soaked insulation holds moisture against the decking and accelerates rot
Tarp the Roof the Right Way
Once conditions are safe, no lightning, no active rain, shingles dry enough to walk, a proper tarp job follows a specific pattern:
- Size the tarp to overhang the leak by at least 4 feet on every side. A tarp that just covers the wet spot lets water wick back under the edges.
- Run the tarp from the ridge down past the eave, so water sheds over the edge instead of pooling. Never let the lower edge stop mid-slope.
- Fasten the top edge first, then work down. Use 1x2 or 2x4 furring strips screwed through the tarp into the deck at the upper edge, screws through bare tarp will tear out in wind. Sandbags or bricks are a fallback, not a primary fastening method.
- Keep fasteners out of the field of the tarp where possible. Every screw hole is a future leak point once the tarp comes off.
- Inspect from the ground after installation. A tarp that flaps in a 20 mph wind will shred itself within a day or two.
Emergency Patches That Actually Hold
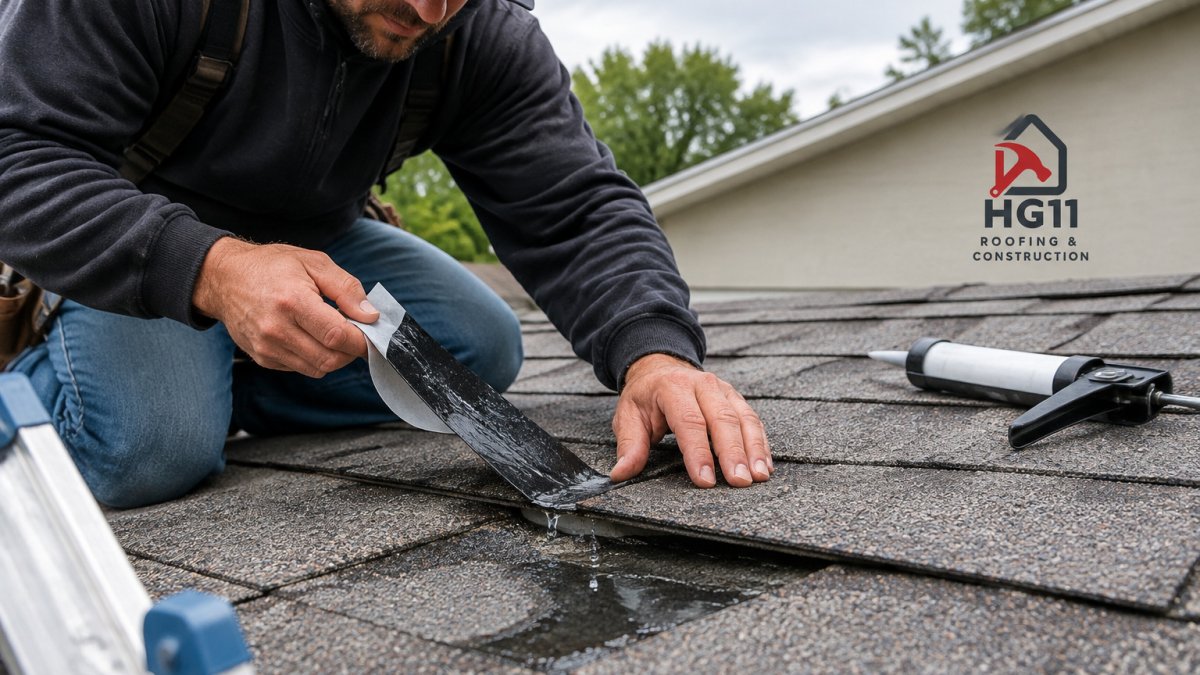
If the leak is small and the roof is dry, a tube of roof cement pressed into an obvious gap can get you through a night. The limits matter more than the product:
- Never seal over wet shingles. Roof cement and caulk will not bond to a wet surface, and the patch will peel within hours.
- Do not seal the entire damaged area. Trapping moisture under a wide patch rots the decking faster than the leak would have.
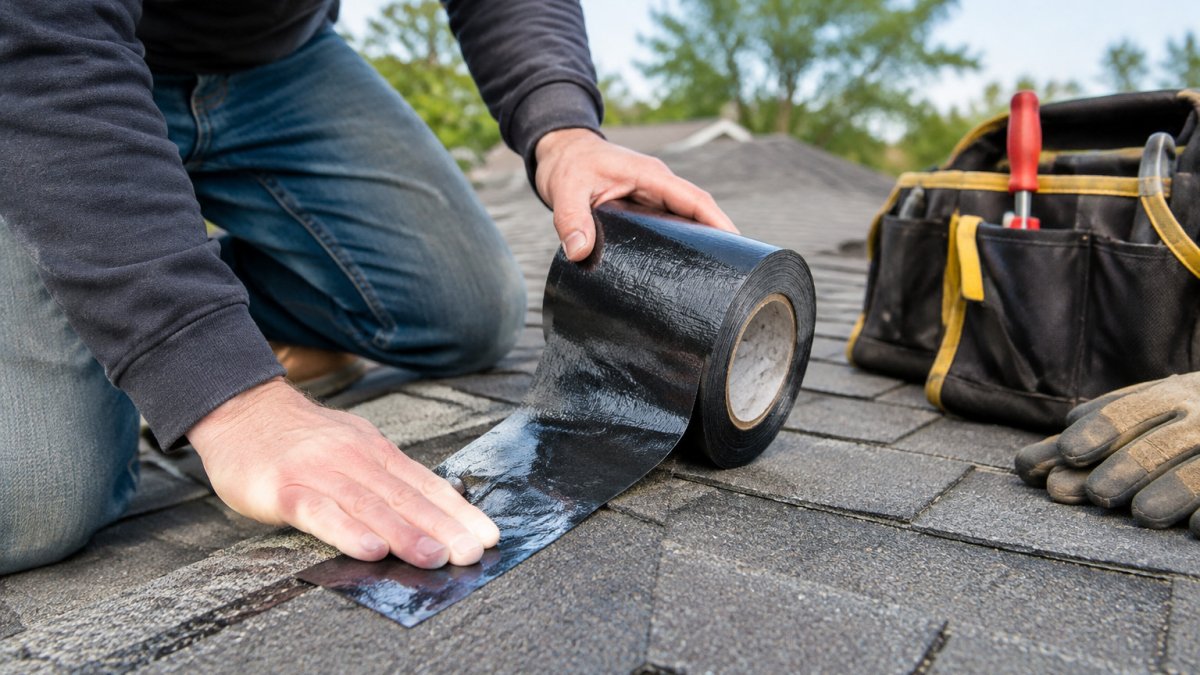
- Butyl or rubberized peel-and-stick patches work better than cement for a flat, clean surface, but they still need dry shingles and a clean, debris-free area to bond.
For a closer look at which tapes and patches actually hold, read our guide to roof repair tape before you buy anything.
Document Everything While It Is Fresh
Insurance claims for hail and wind damage move faster when the damage is photographed before the tarp goes on. Take wide shots of the roof slope, close-ups of dents, granule loss, or lifted shingles, and a photo of the tarp in place with a date reference.
Choosing the Right Roof Leak Repair Sealant
Roof leak repair sealant works only when it matches the material and the job. Most DIY sealant failures we see in Tulsa are compatibility problems, not product-quality ones: silicone smeared on asphalt shingles peels within a season, and roof cement on a metal panel traps moisture against the seam and accelerates corrosion. The chart below is the short version; the notes after it explain the trade-offs.
| Roof Material | Best Sealant | Avoid |
|---|---|---|
| Asphalt shingles | Roof cement (plastic cement) for small gaps; polyurethane caulk for seams | Silicone, will not bond to asphalt |
| Metal panels and seams | Polyurethane or butyl tape | Roof cement, traps moisture, promotes rust |
| Tile and slate | Polyurethane caulk at flashing edges; mortar for bedding | Silicone on porous tile |
| EPDM / TPO flat membrane | EPDM or TPO-specific lap sealant | Asphalt-based products, can degrade the membrane |
| Wood shake | Polyurethane caulk at flashing; replace split shakes | Roof cement over wet wood |
Roof Cement: Small Gaps and Flashing Edges
Plastic roof cement is the workhorse for asphalt shingle roofs. It skins over in a few hours and stays flexible enough to handle normal thermal movement.
Watch out: Roof cement applied over a wet surface traps moisture and rots the decking faster than the leak would. Dry conditions matter more than brand, and the surface needs to be clean and free of loose granules before the cement goes down.
Polyurethane Caulk: Seams and Metal
Polyurethane caulk handles seams, flashing edges, and metal roof penetrations. It adheres to metal, masonry, and most roofing membranes, and it cures flexible rather than brittle. On a metal roof, polyurethane at a seam or around a fastener is the right call; roof cement in the same spot is the wrong one. Polyurethane caulk cure times and minimum application temperatures vary by formulation, so check the product label.
Silicone: Vents Only, Not Shingles
Silicone works on vent boots, plumbing stacks, and some metal flashings, but it does not bond reliably to asphalt shingles. It also cannot be painted over, and once it fails it is difficult to remove cleanly, a later repair has to cut it out. Reserve silicone for vent and stack applications where it is specified.
Butyl Tape and Peel-and-Stick: Flat Surfaces
Butyl tape and rubberized peel-and-stick patches suit flat, clean surfaces, metal seams, EPDM and TPO membranes, and the flat area around a vent boot. They need a dry, debris-free substrate and firm pressure to bond, and they are not a substitute for replacing a failed boot.
Temperature and Cure Time Matter in Tulsa
Sealant performance is temperature-sensitive. Sealant performance is temperature-sensitive, and the manufacturer's label lists the application and cure temperature range for each product. Hot summer roof surfaces can shorten working time and skin a product before it bonds, so check the label and plan repairs for cooler parts of the day. In winter, wait for a dry day above the product's minimum application temperature rather than applying cold and hoping.
What Sealant Cannot Fix
Sealant is a patch, not a repair. It will not fix a failed vent boot, a cracked pipe collar, a rusted-through metal panel, or a valley that has lost its underlayment. If the leak returns within a season, the sealant was covering a bigger problem, the next step is a proper repair, not another tube.
Small Roof Leak Repair Cost and When to Call a Pro
Small roof leak repair cost depends on where the water enters. Minor fixes like a pipe boot or a few shingles run $150 to $400, according to Utz Roofing's 2026 cost breakdown. Valley repairs climb to $500 to $1,500, and structural damage can exceed $3,000 to $6,000, per Collis Roofing's 2026 report.
| Leak Type | Typical Range | DIY or Pro |
|---|---|---|
| Pipe boot, missing shingles | $150-$400 | Often DIY |
| Flashing, valley repairs | $500-$1,500 | Pro recommended |
| Framing or sheathing damage | $3,000-$6,000+ | Pro only |
Signs the Leak Is Bigger Than It Looks
Small leaks rot decking, ruin insulation, and grow mold, notes Phil DiBello Roofing's homeowner guide. Call a pro if you see sagging, multiple stains, or granule loss. If a storm caused it, review our insurance claims process and see the full range of roofing services we handle.
Schedule a Roof Inspection Before the Next Storm
Tulsa hail and wind test every roof, and small leaks rarely announce themselves. A professional roof inspection catches water intrusion before it reaches your ceiling.
A small leak today becomes rotted decking and interior water damage tomorrow. HG11 Roofing and Construction offers clear communication, transparent pricing, and quality workmanship from inspection through final cleanup. Get started with HG11 Roofing and Construction and schedule your inspection before the next storm.
Frequently Asked Questions
What should I do first if I have a small leak in my roof?
Contain the water indoors first with a bucket or towels, then look for the source from inside the attic. Check for water stains on rafters, wet insulation, or daylight around flashing and vent boots. Do not climb onto a wet roof during a storm. Once conditions are safe, inspect the roof surface for missing shingles, cracked sealant, or damaged flashing. Document everything with photos before making any repair.
How much does a small roof leak repair cost?
Minor repairs like replacing a pipe boot or a few missing shingles cost less than valley or flashing repairs, and structural damage involving framing or sheathing costs the most. Get an itemized scope of work before you commit.
Will flex seal or roof cement fix a roof leak permanently?
Roof cement and specialized sealants work well for minor damage on otherwise healthy roofs, but they are usually temporary measures. They can buy you time, especially during storm season, but they do not address underlying issues like failed flashing, poor ventilation, or damaged underlayment. A lasting fix requires identifying the true source of water intrusion and repairing the shingle, flashing, or boot properly.
When should I call a roofer for a small roof leak?
Call a professional if you cannot find the source, if the leak returns after patching, if you see sagging decking or mold in the attic, or if the roof is steep or storm-damaged. A roofer can also document damage for an insurance claim. At HG11 Roofing and Construction, we inspect the full roof system, including flashing, ventilation, and underlayment, before recommending a repair.